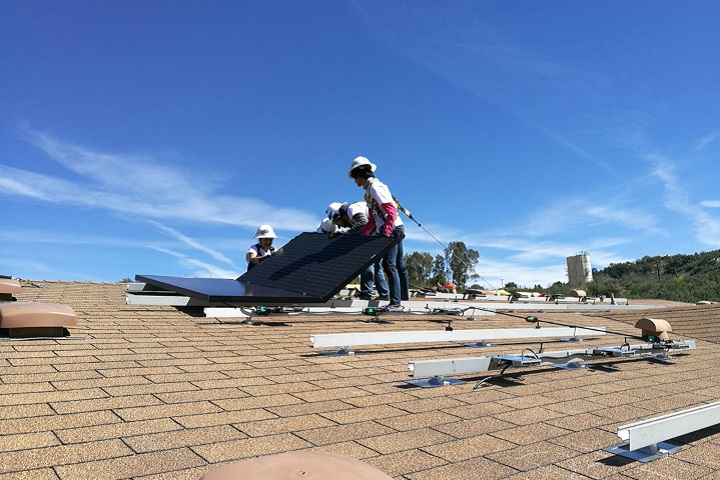
Your ace team of experienced field technicians have just completed another solar installation masterpiece. The homeowners are beaming, and as the sun starts to sink in the west ready for a new dawn, you shake their hands and head to your truck for the drive home. Not so fast! Before you can ride off into the sunset, you need to document what you’ve done in a solar job closeout report.
Why create a solar job closeout report?
Reporting of this type doesn’t have to be burdensome. In fact, a lot of the information you need to collect is in picture form. There are a few reasons why a formal solar job closeout report may be required:
Manufacturers require them for quality assurance
Manufacturers like SunPower maintain large dealer networks across the country with whom they share leads, processes, and reputation. The local dealer is the brand’s representative in facing the customer, so it’s critical for manufacturers to know that their equipment has been installed correctly to established quality standards. Several manufactures, including SunPower, require dealers to submit dozens of specific photos of the job in a report that is then reviewed and must be approved before invoices can be processed.
It’s also not uncommon for solar installation companies to outsource work to a contractor network. If that’s your business model, the same principle applies – you want auditable and visible assurance that the people performing the work on your behalf have done the job to the level of quality you demand.
You need a record of what you’ve installed
If your solar company manages the whole processes from sales through installation to service, creating a solar job closeout report still provides immense value. You can share it with the homeowners as a record of the work you’ve performed and record their satisfaction with the job. It is also a record you can maintain for future reference should you need to return to the site to service or expand the installation.
Closeout reports can even be used for internal training purposes—reviewing them as a team gives your field technicians a chance to share lessons learned and creative solutions, they applied to solve problems they encountered, and to help newer team members understand what a good installation looks like.
What not to miss in a solar job closeout report
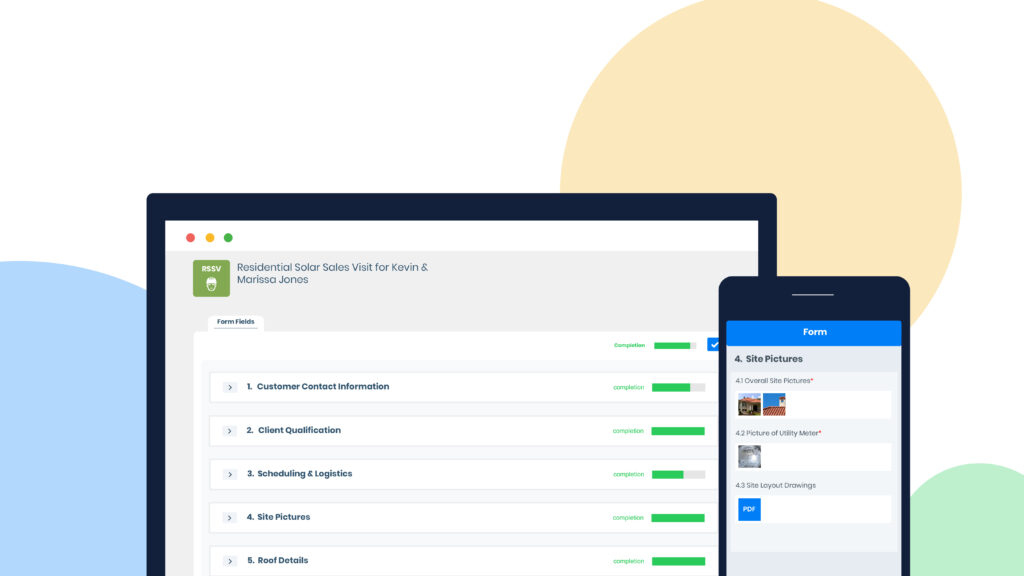
When it comes to job closeouts, a picture really is worth a thousand words. A comprehensive set of properly labelled geo-tagged, and time-stamped photos will form the bulk of the report. With it, you have a truly auditable snapshot of the work that’s been completed. Here are three items that are sometimes missed in the field, that you’ll want to make sure you capture:
1. Photos of flashing around the conduit penetration
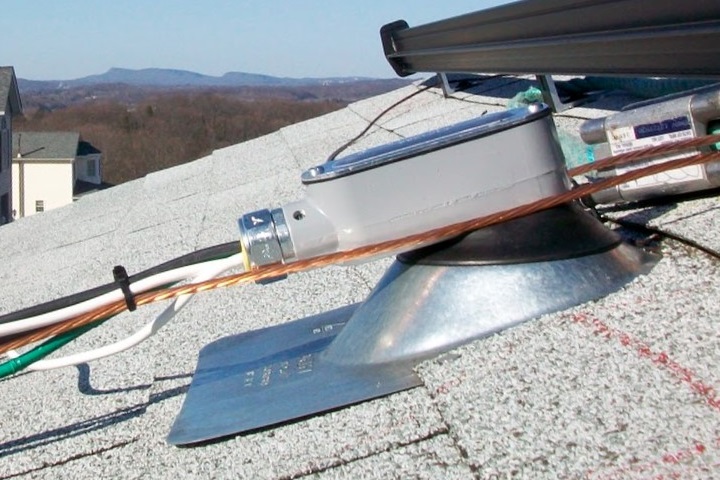
Interior water damage can be extremely costly for homeowners. Beyond the immediate costs of restoration, uncertainties about mold growth can continue to impact both health and property values for years. You don’t want to be held accountable for leaks.
Your solar job closeout report should include photos of properly installed, well-designed and proven flashing components. Make sure your photo set includes all roofing system penetrations, including mounting and the conduit, which has been overlooked in some reports in the past.
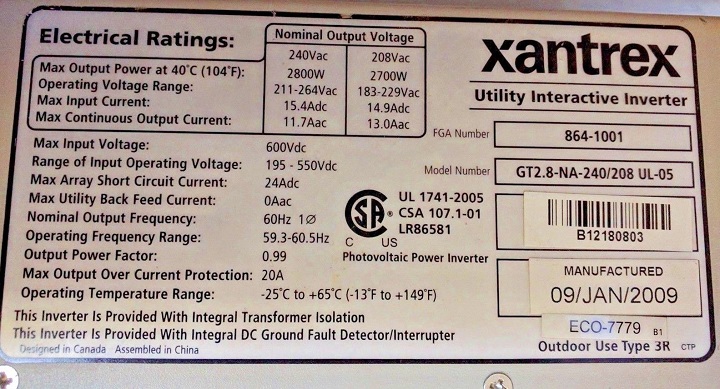
2. Model and serial numbers of the installed equipment (especially inverters)
For panel warranty purposes, you’re going to want to know exactly what equipment you’ve installed, and capturing the model and serial numbers will make any future claims processing significantly easier. In particular, manufacturers like SunPower will ask you to capture the serial number of the inverter(s).
Hot data entry tip: Equipment data labels and faceplates usually have the serial numbers encoded with barcodes. By scanning these with an app that can translate barcodes into text, you can dramatically reduce the chance of data entry errors in the field and simplify the processes for your field technicians.
3. Photos of the main supply panel with the dead front removed
From a safety perspective, the connection you create to the home’s wiring is one of the most critical pieces of work your team will perform. Neat, well labeled, properly secured wiring is a reflection of your professionalism and makes it far easier for someone to look at the system in the future and determine what’s going on.
So, it’s important to take photos of all the electrical work including disconnects and inverters, but especially critical is capturing a picture of the main supply panel with the dead front removed. You want to be able to show any installed CTs. In fact, this is a specific requirement for SunPower dealers. While you’re there, don’t forget to snap a shot of the ufer or ground rod too.
With a well-documented record of the system you’ve built, you’re in a great position to share it with others or keep it for future reference. Are you looking for an easy way to capture all the photos and data you need for a job closeout, with an app on your mobile phone? Scoop has pre-configured job closeout apps for independent solar providers, as well as manufacturers who want to ensure quality from their dealer networks. Visit the Solar App Store, or contact us for more information today.